Building the Image
We’ve dissected the Dockerfile and discussed the .dockerignore file.
Let’s put it all together and build an image that is ready to run.
First, let’s make a tiny Node app so that we have something to containerize and test.
In terminal, run the following:
mkdir node-aboardcd node-aboardnpm init -yThen, create a super-simple server.js that greets us:
const http = require("http");
const server = http.createServer((req, res) => {  res.writeHead(200, { "Content-Type": "text/plain" });  res.end("Hello from Node inside Docker!\n");});
server.listen(3000, () => {  console.log("Server running on port 3000");});
Make sure we have a start script in package.json:
"scripts": { "start": "node server.js"}In this example, we use npm start instead of npm run dev.
That helps reinforce an important idea: dev scripts are great while we’re building and testing, but start is often a better fit when we’re containerizing the app to ship it.
Step 1: Create the Dockerfile
Section titled “Step 1: Create the Dockerfile”At the root of our Node project, create the Dockerfile exactly as discussed:
FROM node:20-alpine
WORKDIR /app
COPY package*.json ./
RUN npm install
COPY . .
EXPOSE 3000
CMD ["npm", "start"]
Step 2: Create the .dockerignore
Section titled “Step 2: Create the .dockerignore”Right next to it, let’s create our .dockerignore:
node_modules.git.envnpm-debug.log.DS_StoreStep 3: Build the Image
Section titled “Step 3: Build the Image”Now we tell Docker Engine to read our recipe (Dockerfile) and construct our image.
From the terminal, at the root of the project:
docker build -t node-aboard .The trailing . is not a typo. It is the path to the build context. If you
forget it, Docker will error out because it won’t know where to look for the
files.
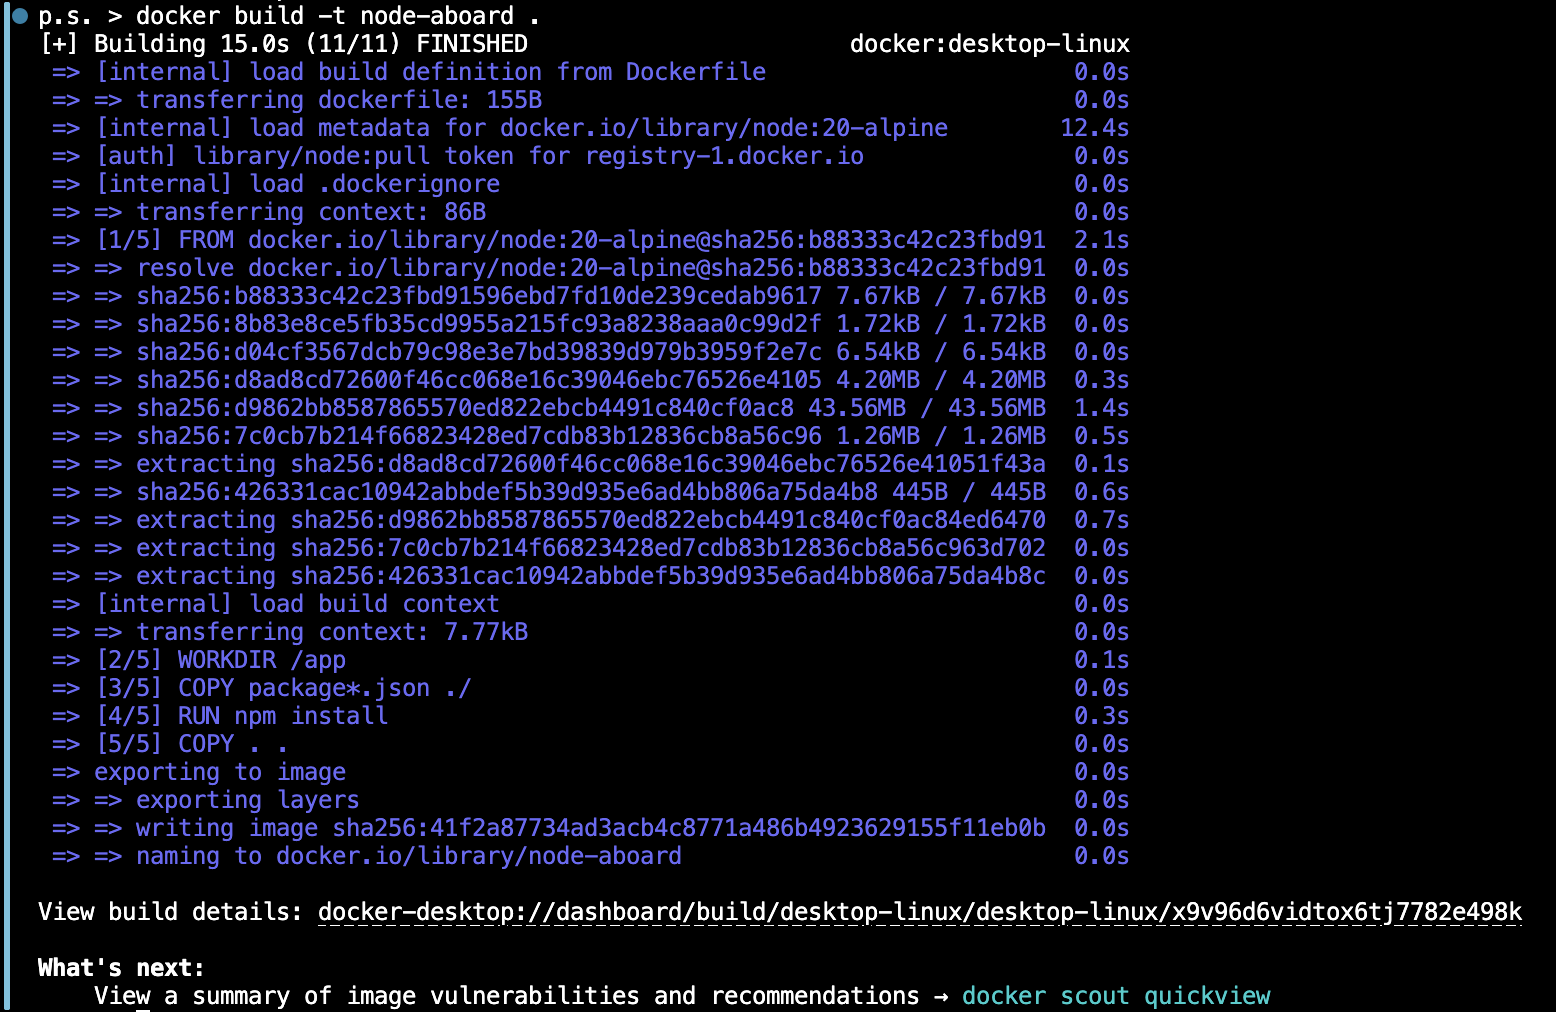
Figure 1: Building the Image
Breakdown
Section titled “Breakdown”docker build: tells the engine to start an image build process.-t node-aboard: “tags” the resulting image with a recognizable name..: tells Docker to use the current directory (.) as the build context.
Wait! What?? Why don’t we see the console log from our app? At this point, we have successfully packaged the image, but it is not running yet. It’s just built. It is sitting in our local Docker registry, ready and waiting for us to run it. Remember the difference between RUN and CMD!

Figure 2: The Docker Desktop Built Image
Extra Bits & Bytes
Section titled “Extra Bits & Bytes”Docker CLI: build
⏭ Running the Container
Section titled “⏭ Running the Container”Our image is ready to roll. Let’s bring it to life as a container.