Installing Docker Desktop
Before we can start packing containers, we need to install the crane. For local development, the easiest and most comprehensive tool is Docker Desktop. It includes the Docker Engine (which runs the containers), the Docker CLI (how we give commands), and Docker Compose (which we will use later to manage multi-container setups).
Getting the Installer
Section titled “Getting the Installer”Head over to the official Docker site and grab the installer for your operating system.
Download Docker Desktop
Mac Installation
Section titled “Mac Installation”Installing on a Mac is straightforward, but there is one crucial detail to verify: Apple Silicon vs. Intel.
- Download the correct
.dmgfile. If you are on an M1, M2, or newer Mac, you must select the “Apple Silicon” option. Using the Intel binary on Apple Silicon causes major performance penalties and architectural translation headaches. - Open the
.dmgand drag the Docker icon into yourApplicationsfolder. - Launch Docker from your Applications folder. It will ask for elevated privileges the first time to install networking components and symlinks. Allow it.
- You should see a whale icon appear in your top menu bar. When the animation stops and the icon is solid, the Docker Engine is running.
Docker on Mac actually spins up a hidden, lightweight Linux virtual machine under the hood to run the containers (since containers share the Linux kernel). You can adjust how much CPU and memory that hidden VM is allowed to use via the Docker Desktop Settings (the gear icon) under “Resources.”
Windows Installation
Section titled “Windows Installation”Windows requires a bit more setup because it relies on the Windows Subsystem for Linux (WSL).
Step 1: Enable WSL 2
Section titled “Step 1: Enable WSL 2”Docker Desktop on Windows heavily prefers WSL 2 as its backend. It is significantly faster and more stable than the older Hyper-V backend.
If you don’t have WSL installed:
- Open PowerShell as Administrator.
- Run the command:
wsl --install - Restart your computer if prompted.
Step 2: Install Docker Desktop
Section titled “Step 2: Install Docker Desktop”- Run the
.exeinstaller you downloaded. - During the installation, ensure the “Use WSL 2 instead of Hyper-V” option is checked.
- Finish the installation and launch Docker Desktop from the Start menu.
- You will see the whale icon in your system tray (bottom right).
Docker Desktop may encourage you to sign in, but for normal local course work, a Docker account is usually not required. We’ll mainly use the CLI in this course and only use the Docker Desktop GUI to verify and inspect what Docker is doing.
Docker Desktop works on both Windows Home and Windows Pro, but Windows Home requires the WSL 2 backend. Make sure WSL is humming along smoothly before fighting with Docker errors.
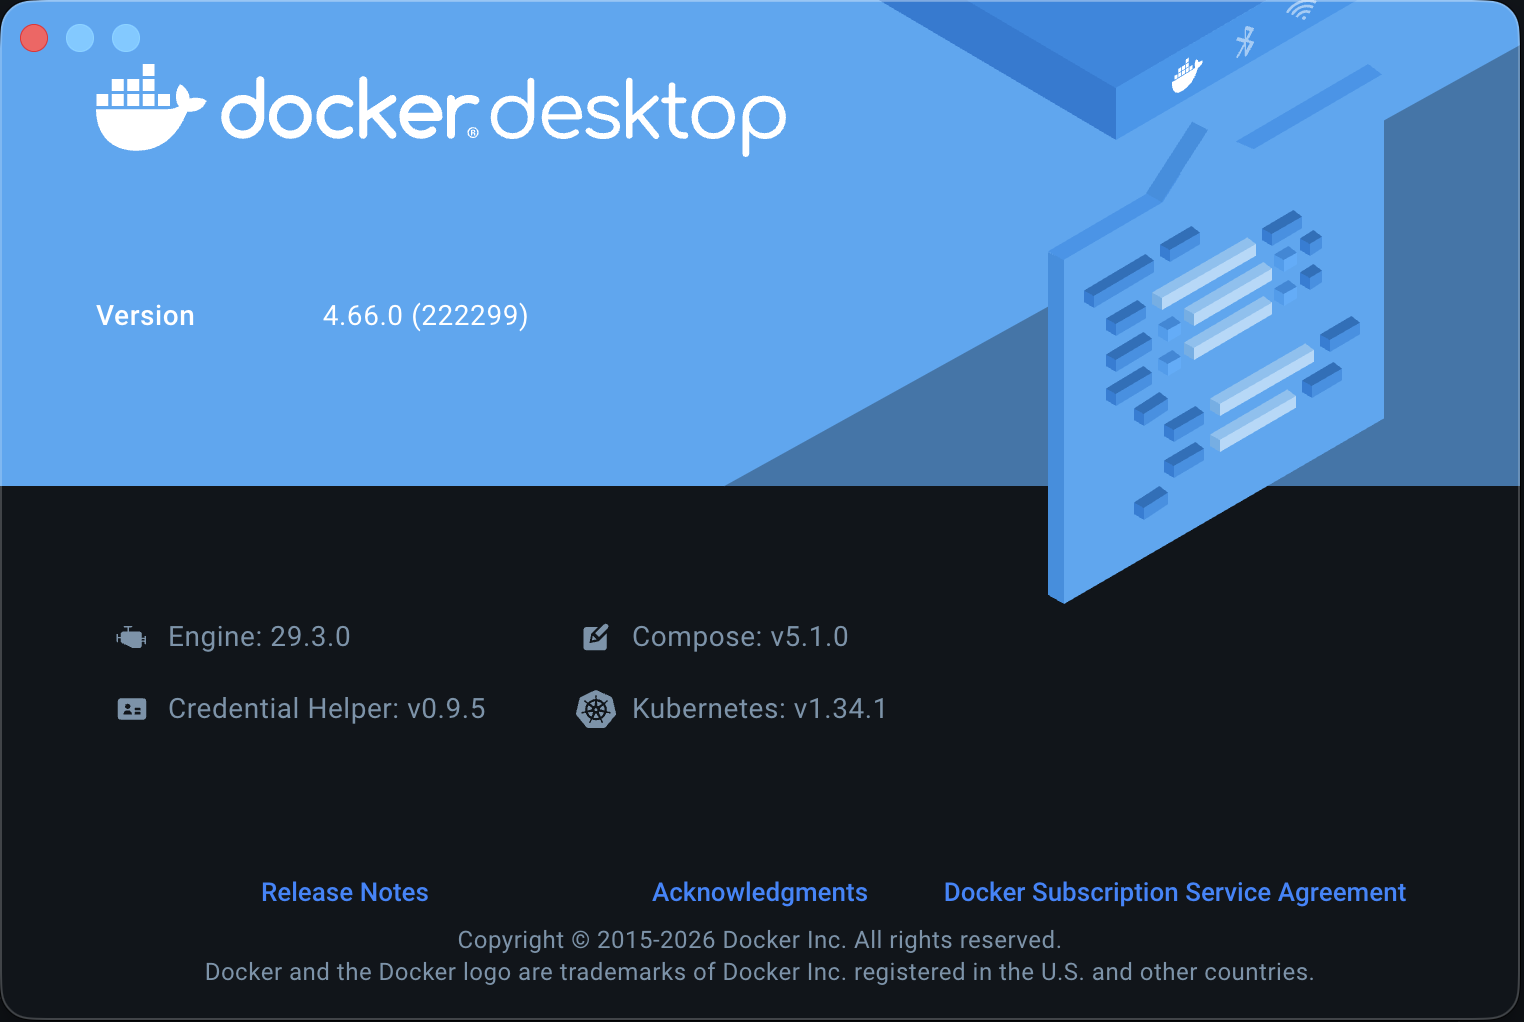
Figure 1: The Docker Desktop Welcome Screen
Verifying the Engine
Section titled “Verifying the Engine”Once the visual Docker Desktop application is running, let’s make sure the command-line tools are wired up correctly. Open your terminal of choice and run:
docker --versionYou should see an output similar to Docker version 29.0.3, build ced0996.
Next, let’s run a test container to ensure the engine can pull images and execute them.
docker run hello-worldIf everything is working, Docker will:
- Look for the
hello-worldimage locally. - Realize it doesn’t have it, and pull it down from Docker Hub.
- Run the container.
- Print a success message (“Hello from Docker!”) to your terminal.
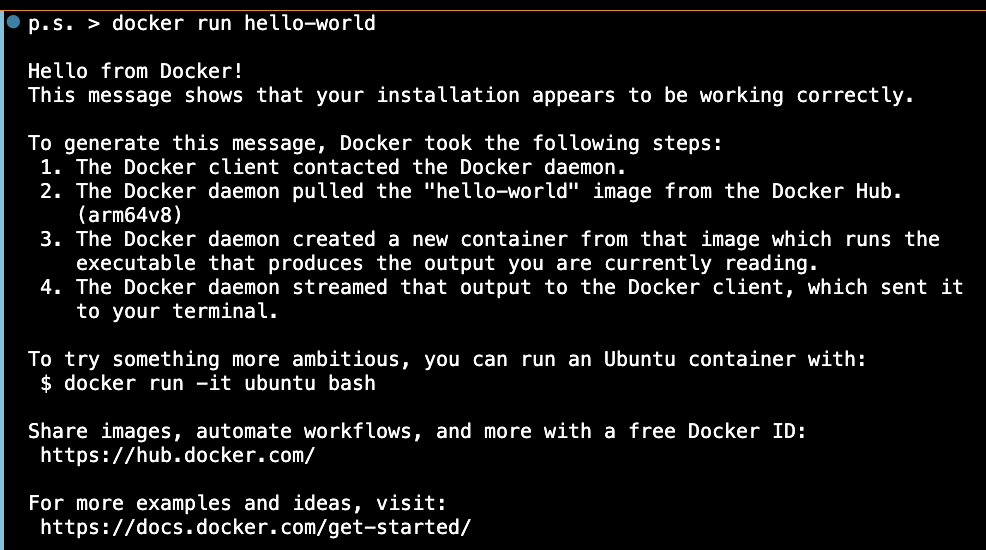
Figure 2: The Docker Hello World Output
Congratulations! Our dockyard is fully operational. Let’s start moving some cargo.
⏭ Parts of the Engine
Section titled “⏭ Parts of the Engine”Next, we’ll break down some core Docker concepts.